
 CZ
CZ SK
SK HU
HU AT
AT DE
DE ES
ES SI
SI HR
HR
Nothing in the basket.
- Search
-
Login

-
0
Comparison
Add products to compare, then they will appear here and you can compare parameters.
-
0
0 €
Blog
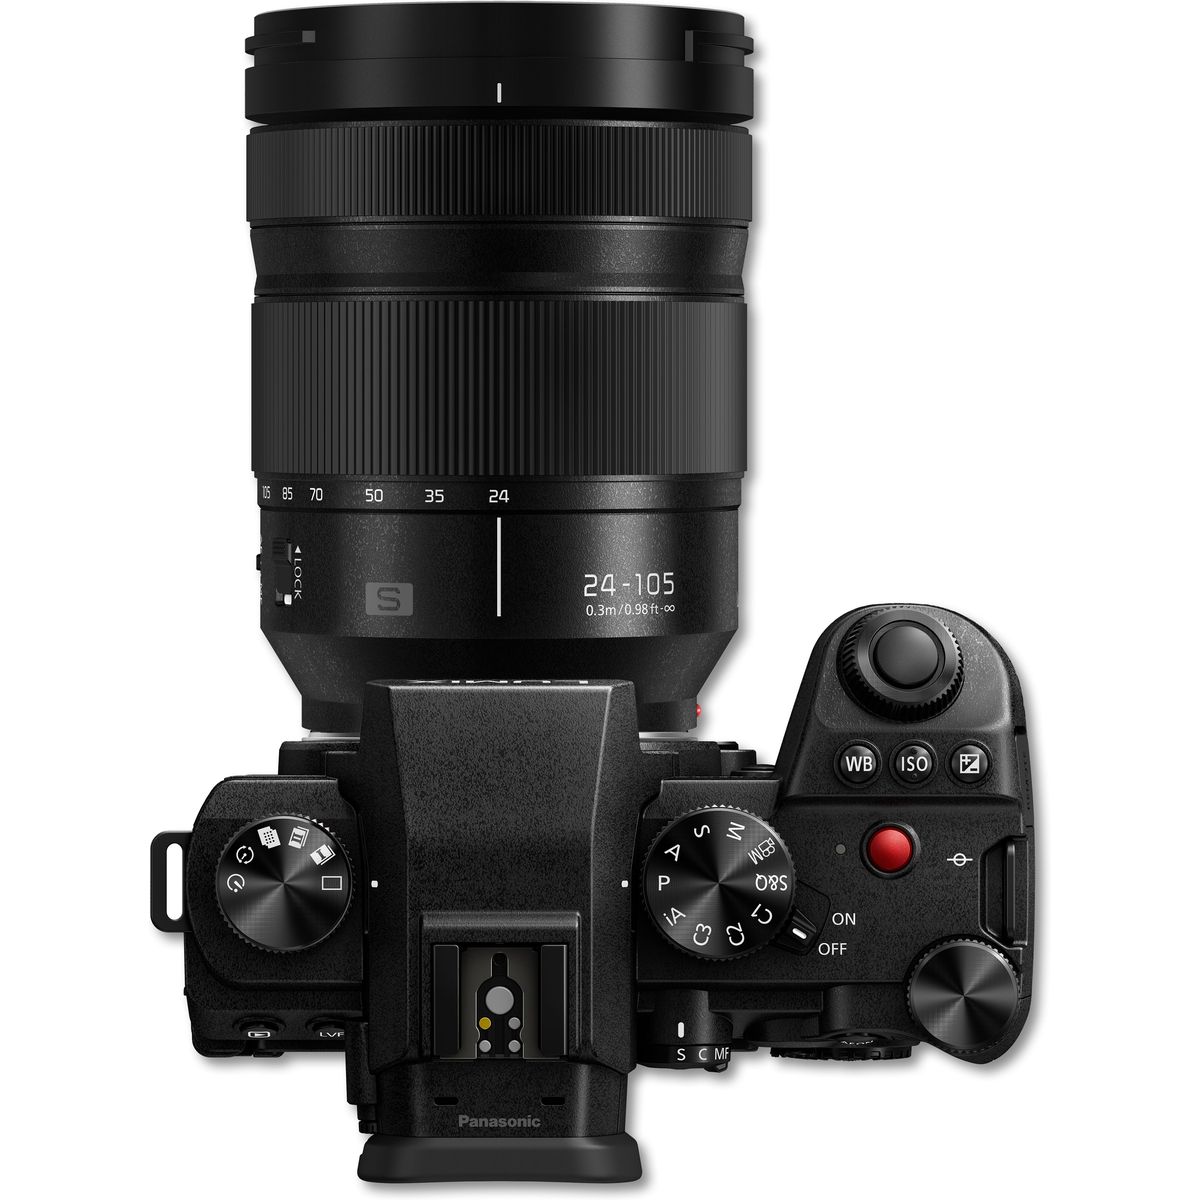
At the end of the previous year, Panasonic introduced new firmware for mirrorless cameras DC-S5M2 (2.3), DC-S5M2X (1.4), DC-GH6 (2.5) a DC-G9M2 (2.0). For the S5M2/S5M2X, memory card compatibility has been improved and image defects in SH Burst Shot (JPEG) shooting have been corrected. The same fixes have also been applied to the LUMIX G, with the G9M2 implementing 12-bit RAW recording over HDMI via Atomos external recorders (Ninja V/V+, Ninja/Ninja Ultra, Shogun/Shogun Ultra, Shogun Connect; to Apple ProRes RAW) and Blackmagic Design (Video Assist 5" 12G HDR and 7" 12G HDR; to Blackmagic RAW). Download here.
Date: 08. 01. 2024,
Category: Blog
FULL ARTICLE
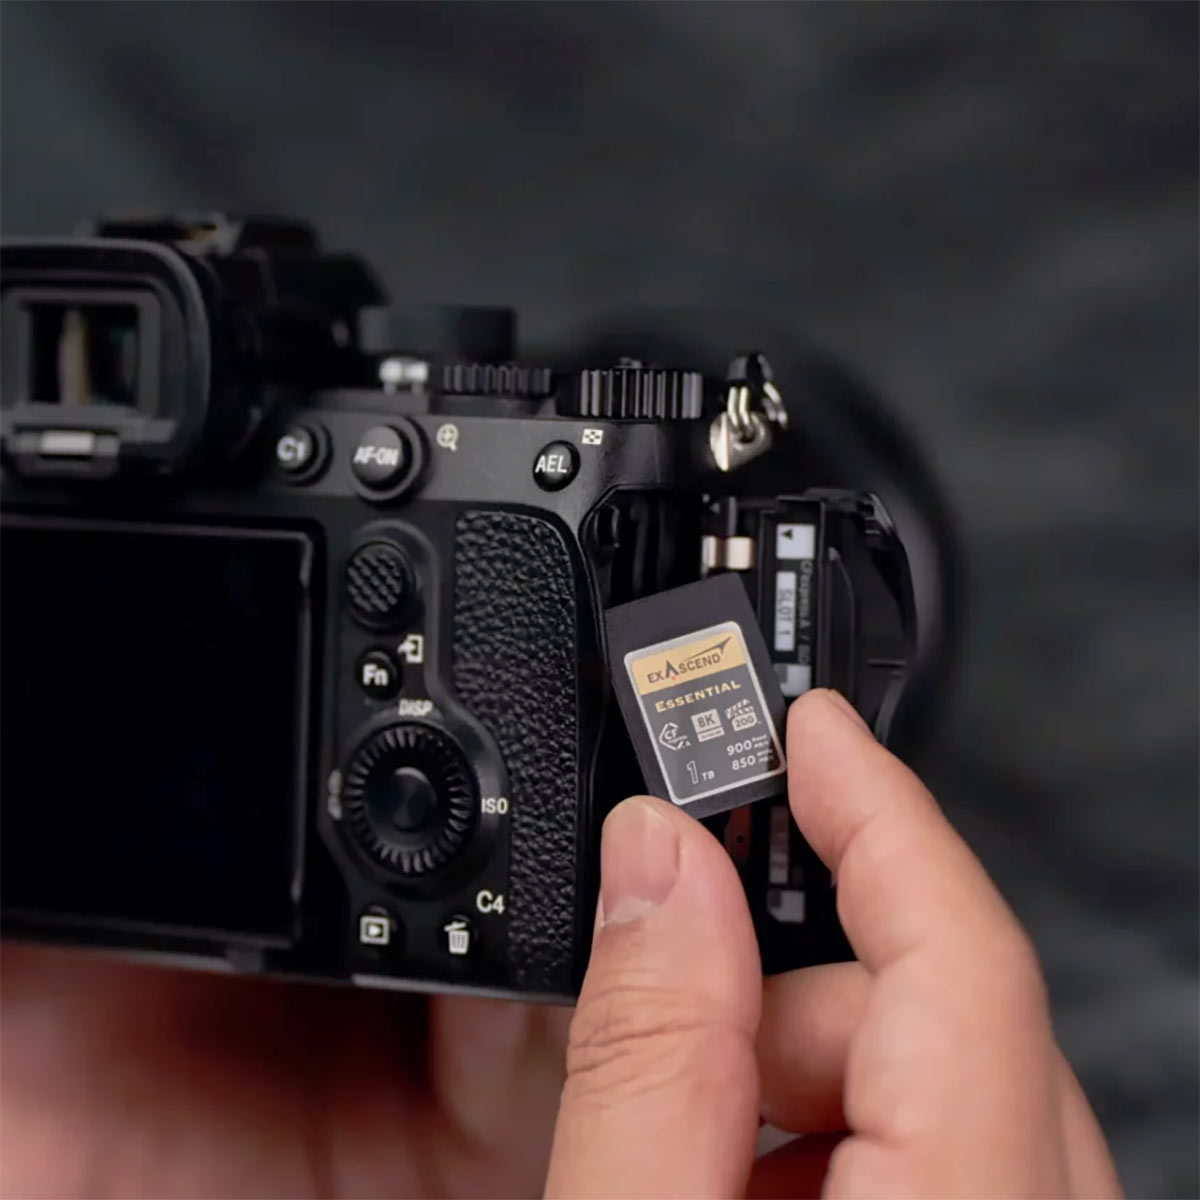
In stock new 1TB CFexpress 2.0 Type A card from Exascend Essential series! In addition to massive capacity, it offers 900/850 MB/s read/write speeds, high resistance (water, dust, shock, magnetic fields, X-rays), Adaptive Thermal Control technology to minimize heat loss (min. <0.5 W and max. <1.75 W during write/read), max. TBW up to 600 TB, reliability/MTBF of 2,000,000 h, proven compatibility with Sony devices (A9 III / A1 / A7S III / A7 IV / FX3 / FX6...) and a 5-year warranty. Already in stock!
Date: 05. 01. 2024,
Category: Blog
FULL ARTICLE
The successor to the popular Edelkrone StandPLUS v2articulating tripod, the StandPLUS v3. Compared to the previous version, it offers a lighter design (3.77 kg vs. 4.5 kg; smaller dimensions when folded) with a lower load capacity (1.36 kg), a higher working height (158 cm) and a lower price. The new variant offers a higher load capacity (2.7 kg vs. 2.5 kg) at the same price StandPLUS PRO.
Date: 03. 01. 2024,
Category: Blog
FULL ARTICLE
ActiveTrack function for automatic subject tracking with Panasonic LUMIX S (S1/S1R/S1H/S5/S5M2/S5M2X/BS1H) or LUMIX G (G9/G9M2/GH5S/GH5M2/GH6/BGH1) and stabilizers DJI RS 3 Pro/RS 3/RS 3 Mini/ DJI RS 2 / DJI RSC 2 will help you shoot reports, vlogs, etc. Learn more about the collaboration between DJI and LUMIX stabilizers here. Full ActiveTrack workflow in Panasonic's new demonstration video:
Date: 02. 01. 2024,
Category: Blog
FULL ARTICLE
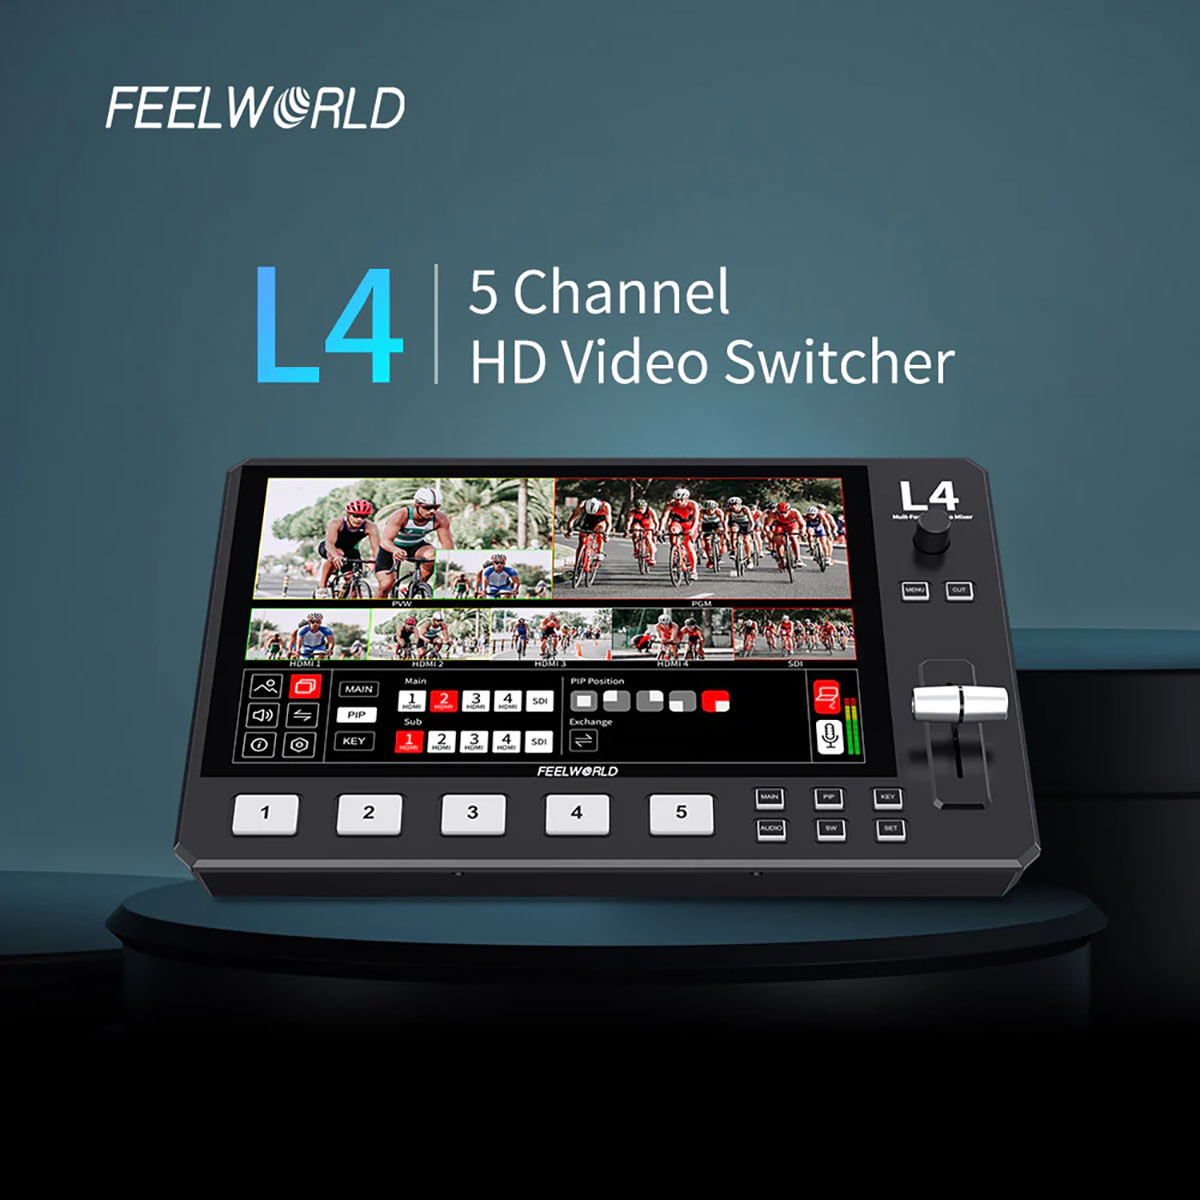
FeelWorld's new hit, five-channel compact overhead L4offers fantastic value for money, as well as a wide range of features and great ergonomics. The manufacturer has capitalized on its experience in producing popular overheads L1 Plus a L2 Plus, and delivers a truly feature-rich, yet very compact device. FeelWorld L4 in a nutshell: 1x SDI and 4x HDMI video inputs, integrated 10.1" LCD touch screen with multiview display (5 inputs, PGM and PST previews), Program/Preview outputs (HDMI and SDI), streaming over USB 3.0 up to 1080p60 resolution, convenient controls in the form of LED buttons and T-Bar, keying and effects functions (incl. PiP), 3.5mm TRS audio input/output and durable metal body (29.02 x 18.95 x 5.57 cm, 1.48 kg). SDI input supports resolutions up to 1080p60, HDMI supports max. UHD 30 fps, RJ-45/LAN interface and active cooling (with automatic de/activation) for maximum reliable operation.
Date: 29. 12. 2023,
Category: Blog
FULL ARTICLE